Homebrewers gift guide 2014

Homebrewers are easy to buy for, right?

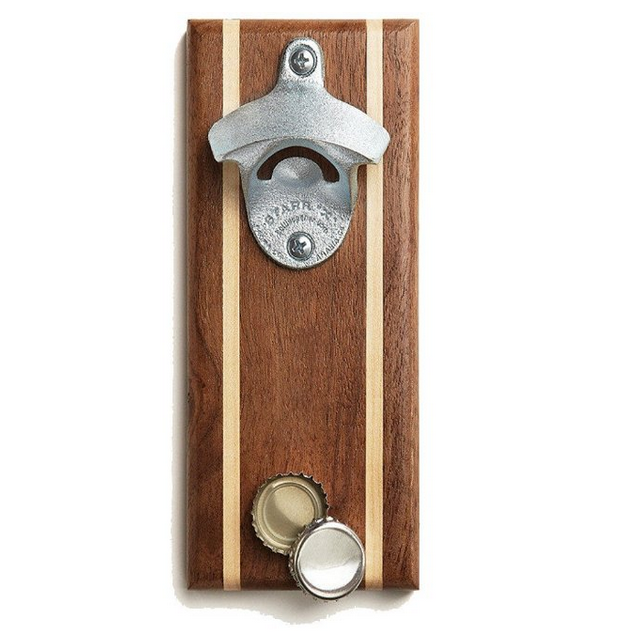
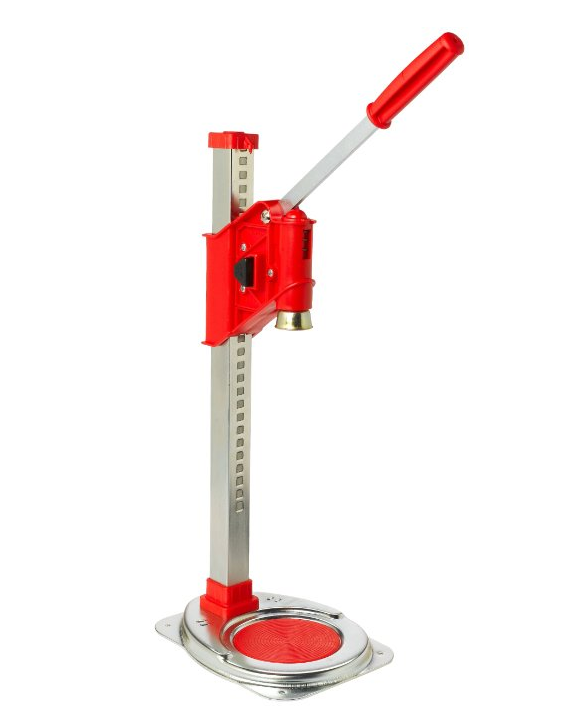
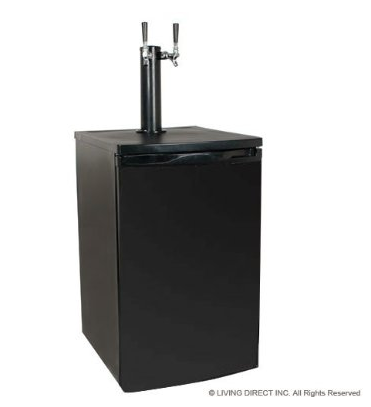
Wrench Bottle Openermagnetic cap catcher and bottle openerbench capperbike 6 pack holderdual tap kegerator amazon

All we want is brewing gear! Well, that’s not so easy for someone who lives with/loves/is married to a brewer, but isn’t a brewer themselves. Also, some people have pretty bad cases of gear acquisition syndrome, and they shouldn’t really be given any more stainless steel tanks or kegerators. This list has lots of small things and big things, cheap things and expensive things. Regardless of if it is a birthday, christmas, or “just because,” these gifts will be sure to put a smile on your homebrewers face.

The list is roughly arranged in increasing value. Click on the headline type or the photo to link to the product.

Wrench bottle opener

Men love steel. I think most women homebrewers do as well. It’s practically required! Either way this is a fun and functional way to open up a bottle of beer.
Wrench Bottle Opener

Continue reading Homebrewers gift guide 2014

Batch #20 – I Eat Danger For Breakfast Stout

Batch# 20 – I Eat Danger For Breakfast Stout

Date Brew:05/21/2014 Rack:0/00/0000 Bottle:07/02/2014 Drink:7/14/2014
Day# 0 0 0 56

Recipe:

I got the recipe for this ridiculously named beer from here and converted it in beersmith to look like this.  I converted liquid extract to dme, and brought the projected OG into line with the recipe projected OG. Beersmith was calculating the og about .010 lower than the recipe called for, so I bumped it up by that amount. We ended up .010 over, so beersmith must have been off. Oh well.

Goals:

For our 100th gallon we wanted to make something a little out of the ordinary.  This thick, strong stout with coffee, chocolate and a bit of smooth oatmeal flavor will hopefully be a good cellaring candidate and have a coming out party toward the fall. It’s a bit over the top, since it has all of the big stout buzzwords, but it’ll hopefully be tasty.

Click here for more Chocolatey goodness!

exBEERiment #2: dry-hopping corona in the bottle

This ExBEERiment is: Dry hopping corona in the bottle.

Similar to split batches, exBEERiments are ways of testing things (generally in the bottle) that you’ve read or heard of, but never seen first-hand. You might lose a bottle or two in the process, but hopefully you’ll learn a lot more!

We’ve started to build up a big supply of half bags of different hops, and were thinking of doing a “stone soup” beer with them. Then we decided to do this instead. We grabbed a 6 pack of the lightest beer we could find in a pop top bottle (corona) and dry hopped each bottle. We re-capped, then waited 1 week and did a tasting.

Hypothesis

Adding different dry hops to a bland base beer will help illustrate the benefits of dry hopping with each variety.

Experiment

Dry hop 6 bottles of corona and re-cap them. Wait 1 week and drink them side-by-side and note differences.

Continue reading exBEERiment #2: dry-hopping corona in the bottle

The recommended way to start kegging

Buy the gear that will last your lifetime.

This kit will hold its value well, and you can easily sell it for 80% (if not more) if you end up not wanting it. The regulator and co2 tank are refillable and will work for many years, and you can swap them out for more functional ones if you decide to upgrade.

The previous example I showed was the absolute cheapest way to start kegging. I’m not saying that approach is wrong, but I prefer to work a few more days and buy the right thing the first time. This is (minimally) it.

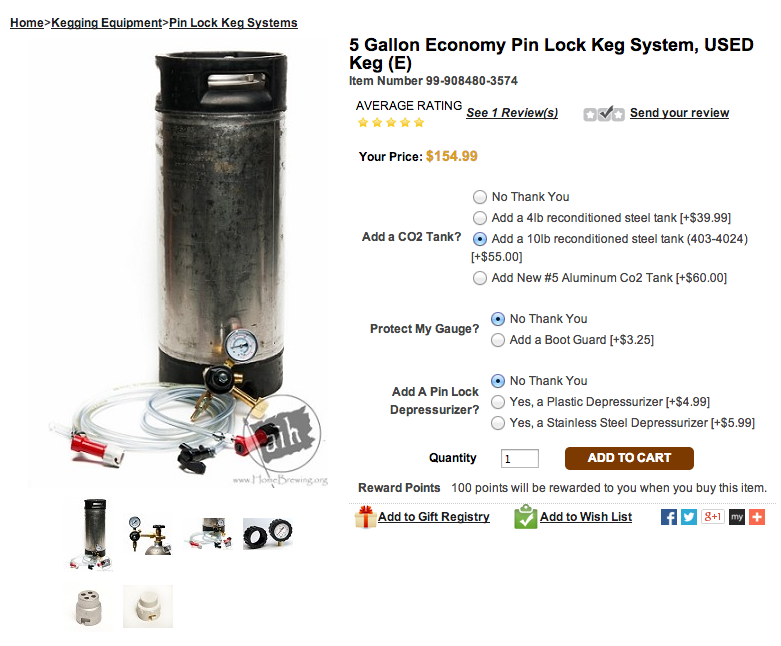
best beginner kegging kit.

Adventures in homebrewing has a screaming deal on a single gauge regulator with a 10 lb co2 tank, a corny keg, and all of the fixings to connect everything and dispense beer. It sells for $155, and simply can’t be beat. If you can beat it, send me a message! (seriously)

Here’s the breakdown
Continue reading The recommended way to start kegging

The cheapest way to get started kegging

What’s the cheapest way to get started kegging?

It’s a thought in a lot of homebrewers minds. There is a lot of conflicting info out there about kegging. Regulators, 5 lb vs 20 lb co2 tanks, keezers, cornies and more!
Here is a simple breakdown of the absolute minimum you need in order to stop botting as soon as possible. Afterwards I’ll talk a little bit more about the downsides of a minimalistic setup like this, and offer up more solutions.

The absolute most basic kegging setup you can get is:

Total ___ $126

With this setup you have to carbonate in your keg the same way you would normally do in your bottles – by adding priming sugar when you rack it into the keg. It’s actually even easier because you don’t have to worry about mixing it.

You’ll next attach your co2 dispenser to your gas side and give it a burst of air to set the seal on the corny. Take the gas connector off (and take the beer dispenser off as well if it was connected.)
Continue reading The cheapest way to get started kegging

MultiOpener v0.5

In my spare time I code little things. This one I think may be useful for more people. So here it goes.

Introducing MultiOpener!

Multiopener is a simple mac app that allows you to quickly perform searches on any craigslist site in the world. It allows you to search for multiple terms on multiple sites, too. By default it opens all of the searches in tabs in Chrome. It’s pretty simple, but it makes things easier.

Pick your cities.
Screen Shot 2014-05-16 at 8.13.54 PM

Continue reading MultiOpener v0.5

How to find homebrew deals on craigslist

Craigslist can be a great place for finding deals on brewing gear if you know how to look. It can also be a bottomless pit of time-wasting if you don’t.

Craigslist Closeup

Find it.

Refine your search(es) try looking for the specific model number as opposed to the generic name. It’ll be a lot easier to see that there are no results than to sort through 4 pages of bad results.

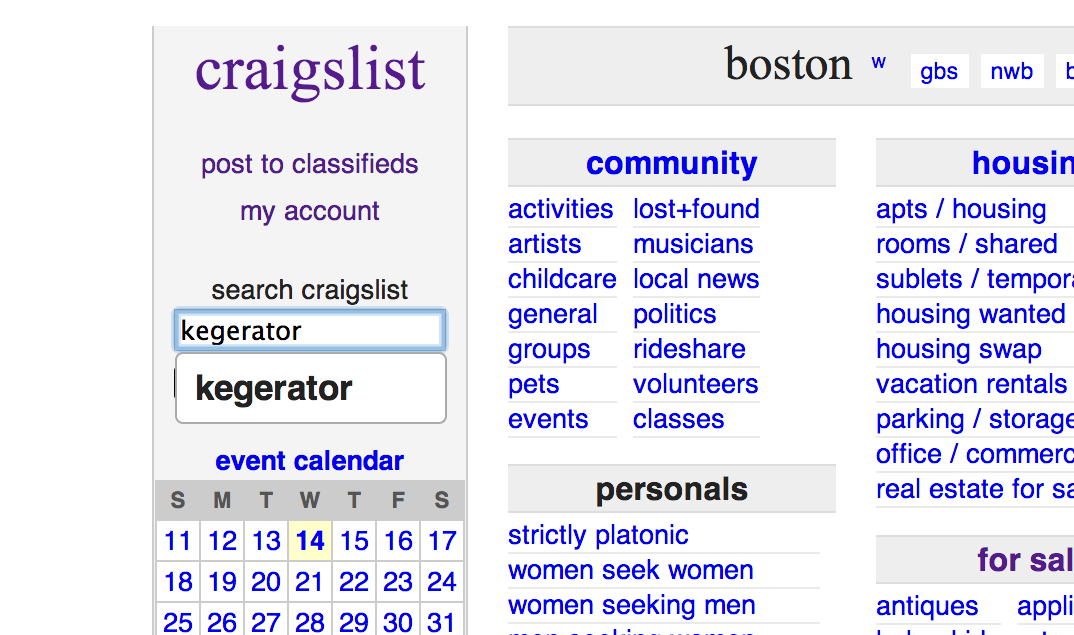
Include misspellings and alternate terms. People often post from cell phones and don’t put much effort into spell checking. Try some misspellings and see what you can get. Kegorator and cornie are two that come to mind. Get creative.

Expand your number of CL sites. Is there a city an hour away that has its own CL site? Try there. Depending on how big of a purchase an even longer drive may be warranted. Check out this mac app that I wrote to do multi site Craigslist searches.

Save your searches as bookmarks. That way you can open them up a slew of bookmarks as tabs in chrome easily.

Continue reading How to find homebrew deals on craigslist

ExBEERiment #1 – Intentional Oxidation

This ExBEERiment is intentional oxidation.

Similar to split batches, exBEERiments are ways of testing things (generally in the bottle) that you’ve read or heard of, but never seen first-hand. You might lose a bottle or two in the process, but hopefully you’ll learn a lot more!

Exbeeriment_2

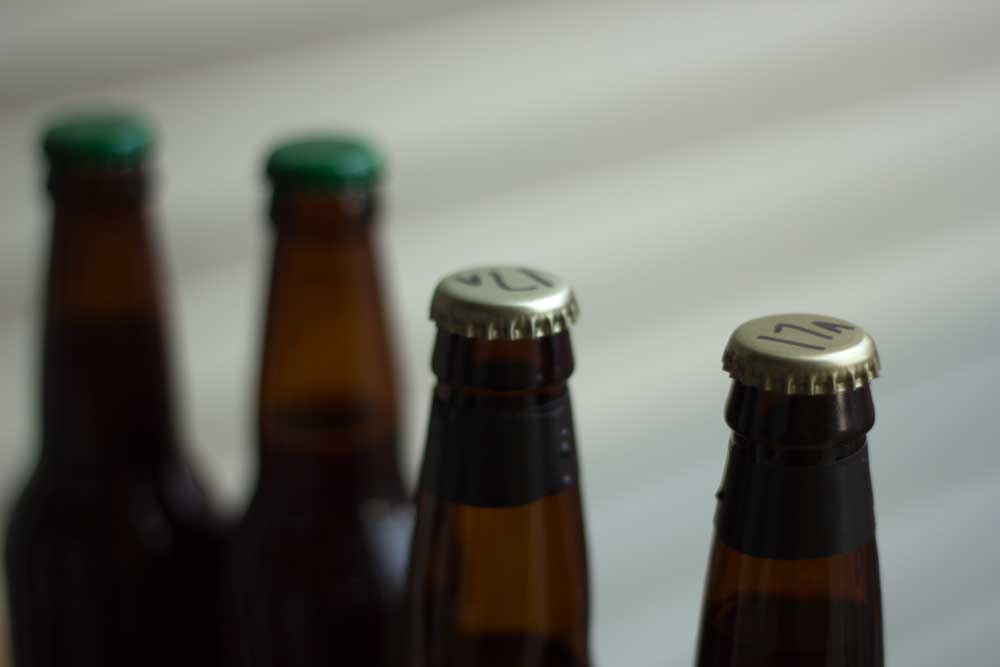
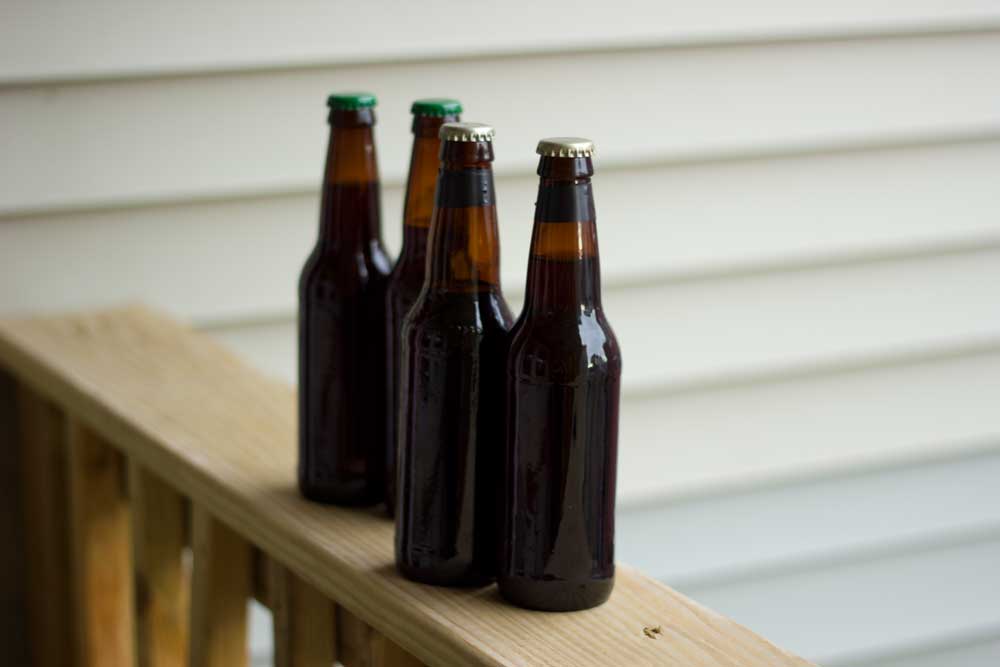
At bottling time for the Vienna Lager we intentionally aerated the heck out of the last 2 bottles. We then marked them carefully (different color caps, sharpie label on the cap AND electrical tape on the neck of the bottle!) and put them away with the rest to carb up. I think it’ll probably take some time for the beer to develop noticeable off flavors, so maybe we’ll wait a month or so for the first bottle, then two for the second. We’ll pair it up with a non-aerated bottle that has been kept under the same conditions and do a tasting.

exbeeriment_1

Once the time has passed I’ll put my notes here.

*I saw that great term (exBEERiment) on a blog a while back and it was just too good to not steal it!

Why we love split batches.

SplitBatchOntheCounter

I love the concept of a split batch.

There’s something so precise and grown up about having a control. I also love knowing that the differences between two beers is solely due to that one little thing that you changed. I really enjoy being able to set up an experiment and see if any random “fact” that I read on the internet is repeatable. It also allows you to iterate faster with any given boil size when you are tweaking recipes.

Process

We brew 5 gallon batches, some BIAB and some extract. We end up with around 4.5 after trub loss, and we can put half into either carboys or the often raved about 3 gallon corny kegs. Carboys are easier for primary (like yeast splits), but cornies are easier for secondary or when we add fruit, oak, or other solids.

You’ll definitely see a lot of split batches on here. Here’s a list of things we’ve wanted to test or still want to test. I’ll put links to the brew logs when we end up making them.

Split batch ideas

Oxygenation (maybe just a few bottles at bottling time would be best)
Light struck to different degrees
Different yeasts Notty vs US-05 in a dry stout
Fresh fruit / frozen Lager with Raspberries vs NoBerries
Different oak char levels
High / low ferm temps
Consistent / inconsistent ferm temps
Different dry hops
Different length boils
Low vs High ABV (by adding vodka at bottling)

How to convert a pin lock corny keg to a ball lock one

Corny_keg_explodedKnowledge is power, and not buying that screamingly cheap keg simply because it is not whatever style of connections you have can cost you in the long run. Depending on how well you shop around you can buy the pieces to convert a keg from pin to ball or vice versa for around $10. There are a few things you need to know.

What kind of keg do you have?

“Corny kegs” were manufactured by a lot of companies, with the lids generally being interchangeable, but the posts often use a different threading. You need to find the manufacturer so that you can buy the right threading. Look on the side of your keg to find inscriptions. Firestone and Cornelius are the two big manufacturers, so look for those first. Another useful tip is that firestone kegs generally have rubber that is not continuous. What I mean by that is that it is not one full circle at the top. It dips down in between handles. Here is a great link on how to tell different kegs apart.

What kind of fittings do you need?

Continue reading How to convert a pin lock corny keg to a ball lock one