Category Archives: hardware

DIY Black Iron Pipe Draft Tower final build list

Final Update

As a second update to my first post on this draft tower, the iron pipe draft tower has been completed! There is a link below to an amazon cart if you just want to jump down and see the parts.

This tower is exactly what you need to turn a dorm fridge or a chest freezer into a stylish kegerator. It’s all built out of parts you can get from amazon, and it’s really easy to assemble.

Here’s the front view. The distance from the bottom of the faucet to the top of the counter is around 10″ If you want a taller tower, swap out the pipe nipple for a longer one.

front

Continue reading DIY Black Iron Pipe Draft Tower final build list

DIY $5 RIMS tube

The device above is part of what is called a “bubble pump” from a coffee maker. It is an aluminum tube with resistors wrapped around it. The resistors get current and heat up the fluid in the tube. In the coffee maker there is a one-way valve on one end of the tube. The water in the tube heats up and gets to the boiling point. When it boils it pushes out in both directions from the tube. The one way valve activates and then all of the boiling water is pushed out by its own pressure to the coffee. That is how 99% of home drip coffee makers work. Neat, isn’t it?

You can dig one of these out of almost any coffee maker you find in a thrift shop or on the side of the road. It will be in the base of the unit, under where the pot rests. There may be a lighted switch somewhere in the middle. Keep that – it may be useful when you build your enclosure.

Continue reading DIY $5 RIMS tube

Black Iron Pipe Draft Tower UPDATE

Update

As an update to my first post in this draft tower, the iron pipe has arrived! As you can see in my rough test-fit in the kitchen this thing will look pretty badass when it is completed. I went for an 8″ pipe on the riser where the original seems to have a much larger one. I may end up swapping that out if I get a tall drip tray, but it’s pretty much perfect as-is.

Here are all of the pieces of the tower at amazon.

Faucets

As I expected, the long shank faucets didn’t work out very well. I have since bought two of these shorter shanks and we’ll see how they fit.
short shank draft tower
I’m planning on losing the chrome collar if possible. I love the idea of having the nice shiny chrome faucet coming right out of the black metal pipe. Nice contrast.

$20 false bottom

I use the very popular Winco 40qt aluminum kettle as my boil kettle, and I recently made an affordable false bottom.  It turns out that this pizza pan is a perfect fit inside of the kettle. Adding 3-4″ stainless steel bolts and 6 nuts for feet completes it! It’s honestly about a 5-minute project. There is about 1/16 of an inch of a gap between the false bottom and the kettle wall.

Even if you don’t have my specific pot, looking for a pizza pan can easily provide you with a simple base for a false bottom.

UPDATE

After I posted this it was pointed out that I was only looking at this as a false bottom for my personal brewing style – BIAB. This won’t work for people who want to mash solely with this as a filter (i.e mash tun / 3 vessel.) This is designed to keep the bag and grains off of my heating elements and allow me to adjust the mash temp easily mid-mash. I bet that there are actually pizza pans out there that have finer holes, or you could buy one with no holes and drill it yourself.

IMG_1573

IMG_1568

IMG_1566

Check your ball valve!

(^ gross, isn’t it?)

I’ve read a few things on reddit and homebrewtalk about brulosophers post. He had a friend who had a long series of bad batches and they ultimately pinned it down to a lot of gunk in his ball valve. There was even a few photos showing all of the gore.

Welp, it’s been a bit since I read that and I finally got around to checking my valve. Yep – mine was dirty.  I’ve removed it, boiled it, and it’s squeaky clean again. There are a lot of little bits and bobs that you need to sanitize in the brewing process. Finding and fixing process flaws like this are stuff that makes us all better, and ultimately makes our beer better.

In the future we need to recirc hot water more frequently, recirc some hot cleaner more frequently, and break down the valve and inspect it more often.


IMG_1576

IMG_1575-1


DIY Black Iron Pipe Draft Tower

I saw this draught tower on pinterest and I knew I HAD to build one.

IronPipeTowerHI

It totally matches my style in almost every way. Black, industrial, rugged. Did I mention that BEER COMES OUT OF IT?!? They are selling them on etsy for $285 with faucets and glycol lines, but I’m the kind of guy who never wants to spend money buying something I could conceivably build it myself, so I started pricing out pieces from amazon. You can see on the tee that it’s a 2″ tee, so I designed everything else with 2″ black iron pipe.

I haven’t found prices to be significantly better at HD or Lowes vs amazon, and I like being able to get it all from one place as opposed to a bunch of different vendors so I spec’d out the first round at amazon
Continue reading DIY Black Iron Pipe Draft Tower

DIY Spunding Valve – one-stop parts shopping on amazon

Spunding valves are an interesting little tool for brewers that let you control the pressure in your fermenting vessel (almost always a keg for homebrewers) They are an adjustable blow off valve that will release at or above a certain pressure point. The benefits of using one  are primarily that you can end up with carbonated beer straight out of the fermenter, and that they can allow increased fermentation temps (specifically in lagers) with fewer off-flavors. I don’t know if I have seen any proof of the second point, but I have certainly read it often.

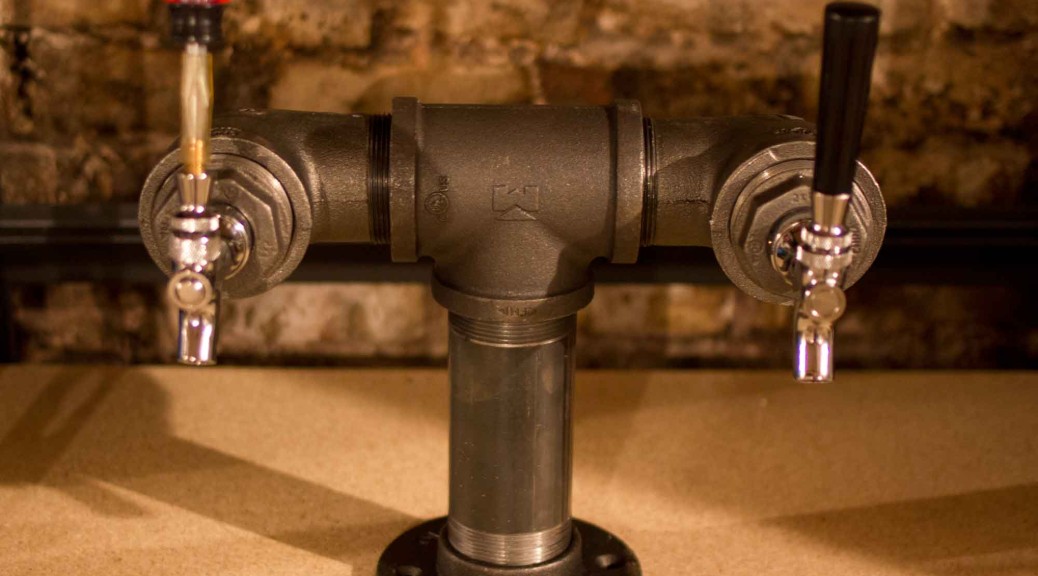
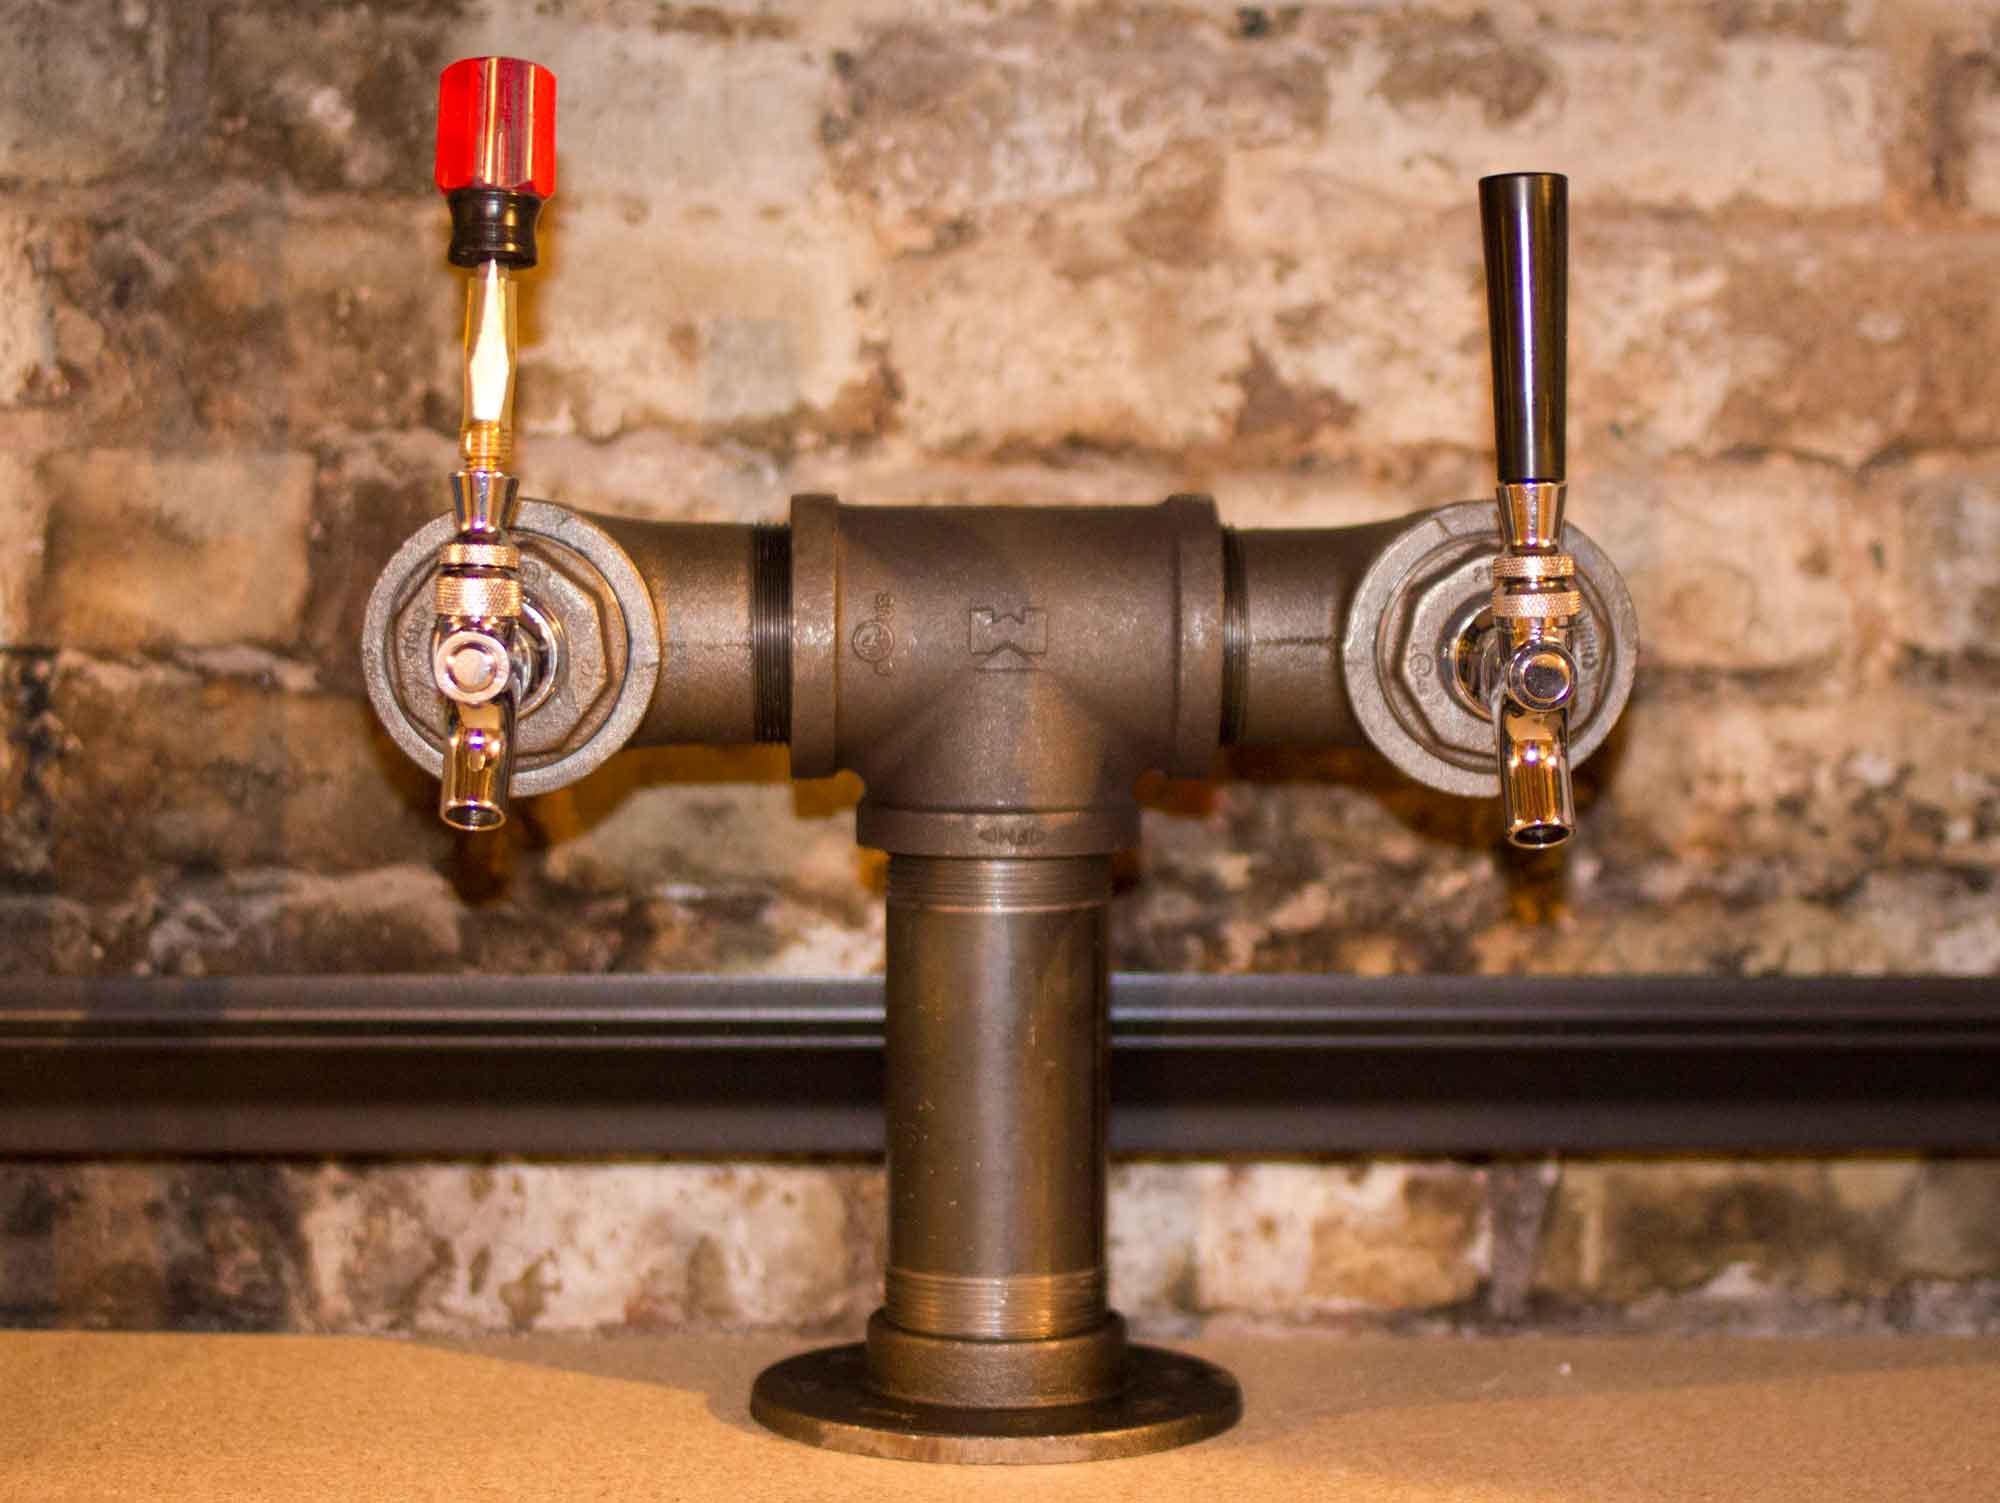
The auxilliary thing I like about having a pressurized keg that is still fermenting is that it is VERY easy to take a sanitary sample using a picnic faucet, and there is essentially zero chance of O2 entering the keg, as the gas pressure is far more reliable than an airlock (that may require topping off.)

One down side to spunding valves is that some yeasts put out off-flavors in their gas, especially early into fermentation. If you’ve ever smelled cabbage or eggs coming out of a vigorous ferment you can see how disconcerting that could be coming off of a pint glass.  Most commercial breweries vent off any natural carbonation so that they can inject the beer with pure co2 at bottling, and some people say that this gives a cleaner taste.

Continue reading DIY Spunding Valve – one-stop parts shopping on amazon

Considering buying a Beerbox?

Screen Shot 2014-07-10 at 4.19.11 PM

I fell down an internet wormhole recently and found myself looking at the Beerbox from Brewing Tools. It’s a ~2 gallon plastic keg that you can fit in your fridge and pressurize with a hand charger. For $199 you get a charger, 2 beer boxes, and some co2. Screen Shot 2014-07-10 at 4.18.52 PM

At first glance it seems like an easy way to get in to kegging, but not a particularly cheap way. The plastic (HDPE?) box will be difficult to sanitize, and it will definitely require replacement at some point. You probably can’t force carbonate in it, and those co2 cartridges are much more expensive than a bigger tank.
Continue reading Considering buying a Beerbox?

The recommended way to start kegging

Buy the gear that will last your lifetime.

This kit will hold its value well, and you can easily sell it for 80% (if not more) if you end up not wanting it. The regulator and co2 tank are refillable and will work for many years, and you can swap them out for more functional ones if you decide to upgrade.

The previous example I showed was the absolute cheapest way to start kegging. I’m not saying that approach is wrong, but I prefer to work a few more days and buy the right thing the first time. This is (minimally) it.

best beginner kegging kit.

Adventures in homebrewing has a screaming deal on a single gauge regulator with a 10 lb co2 tank, a corny keg, and all of the fixings to connect everything and dispense beer. It sells for $155, and simply can’t be beat. If you can beat it, send me a message! (seriously)

Here’s the breakdown
Continue reading The recommended way to start kegging

The cheapest way to get started kegging

What’s the cheapest way to get started kegging?

It’s a thought in a lot of homebrewers minds. There is a lot of conflicting info out there about kegging. Regulators, 5 lb vs 20 lb co2 tanks, keezers, cornies and more!
Here is a simple breakdown of the absolute minimum you need in order to stop botting as soon as possible. Afterwards I’ll talk a little bit more about the downsides of a minimalistic setup like this, and offer up more solutions.

The absolute most basic kegging setup you can get is:

Total ___ $126

With this setup you have to carbonate in your keg the same way you would normally do in your bottles – by adding priming sugar when you rack it into the keg. It’s actually even easier because you don’t have to worry about mixing it.

You’ll next attach your co2 dispenser to your gas side and give it a burst of air to set the seal on the corny. Take the gas connector off (and take the beer dispenser off as well if it was connected.)
Continue reading The cheapest way to get started kegging