
Final Update
As a second update to my first post on this draft tower, the iron pipe draft tower has been completed! There is a link below to an amazon cart if you just want to jump down and see the parts.
This tower is exactly what you need to turn a dorm fridge or a chest freezer into a stylish kegerator. It’s all built out of parts you can get from amazon, and it’s really easy to assemble.
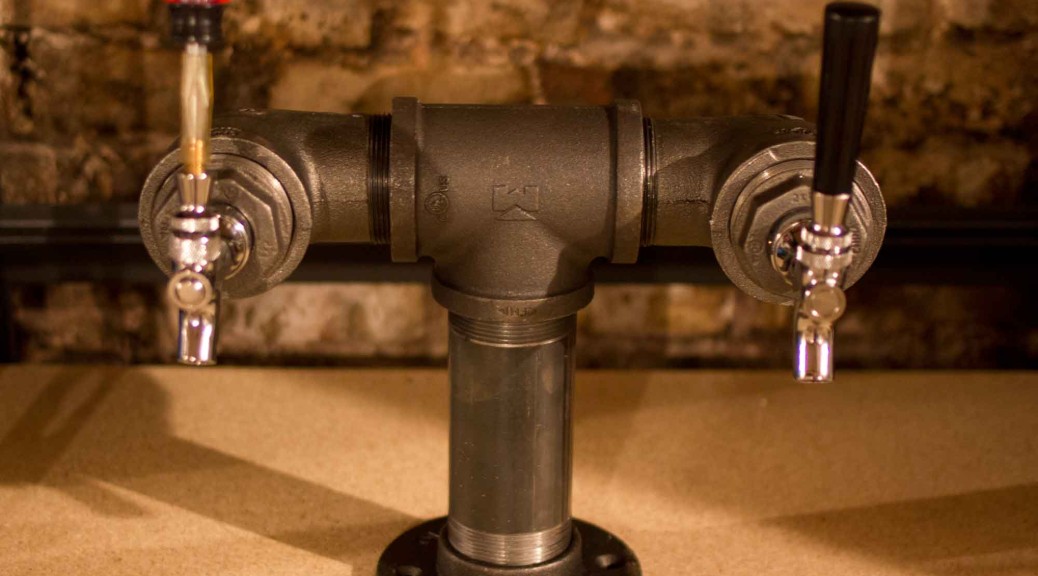
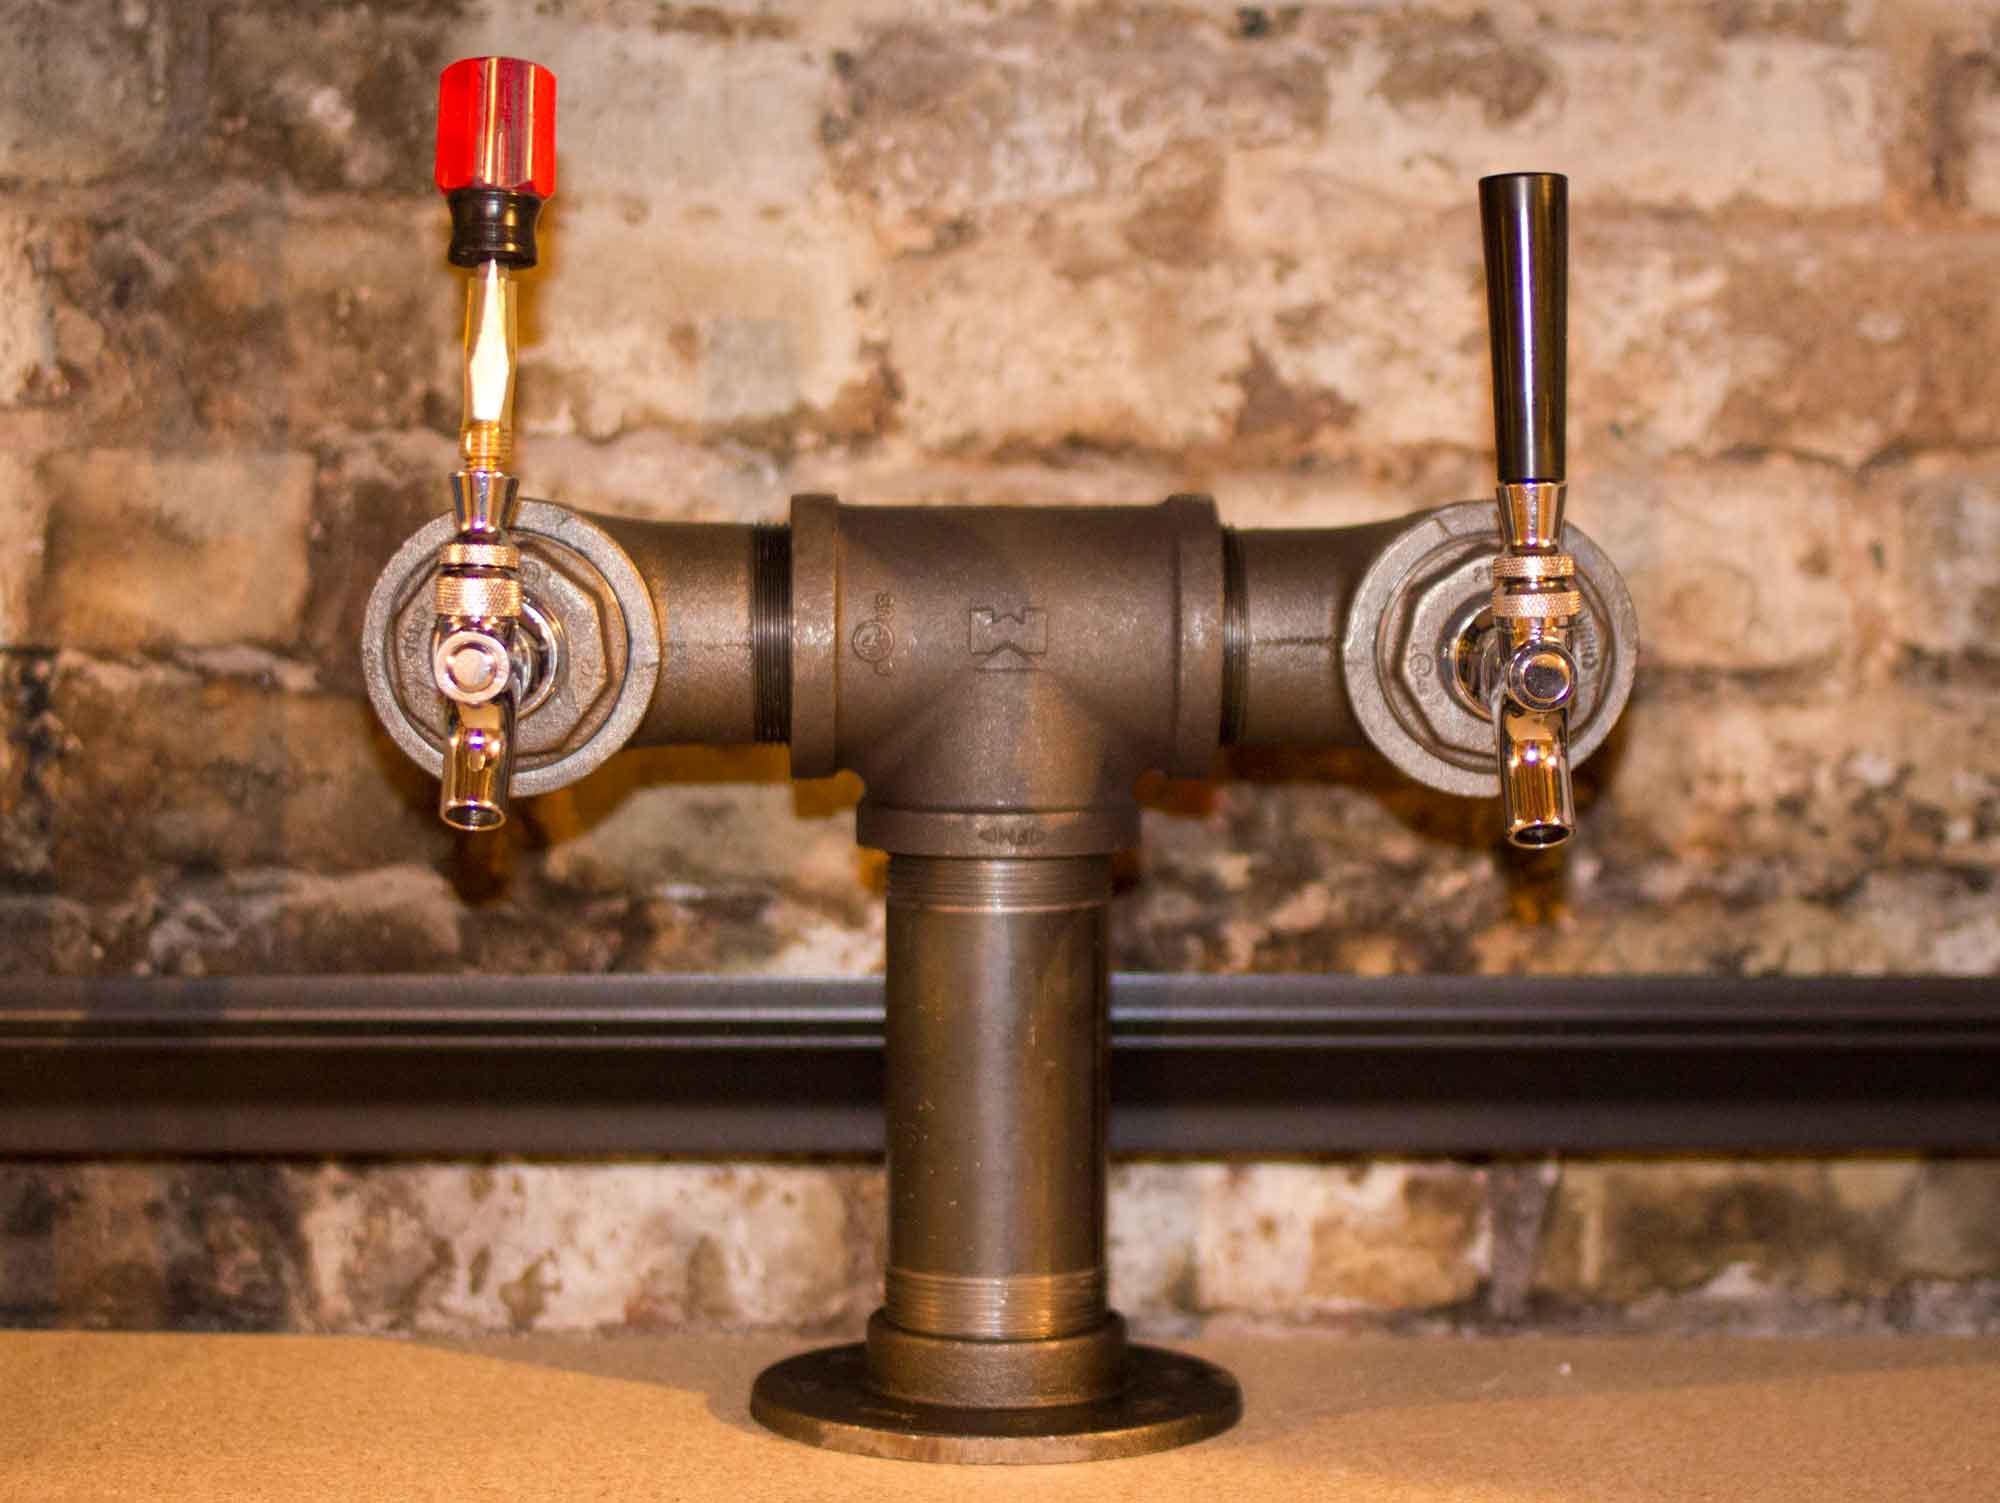
Here’s the front view. The distance from the bottom of the faucet to the top of the counter is around 10″ If you want a taller tower, swap out the pipe nipple for a longer one.
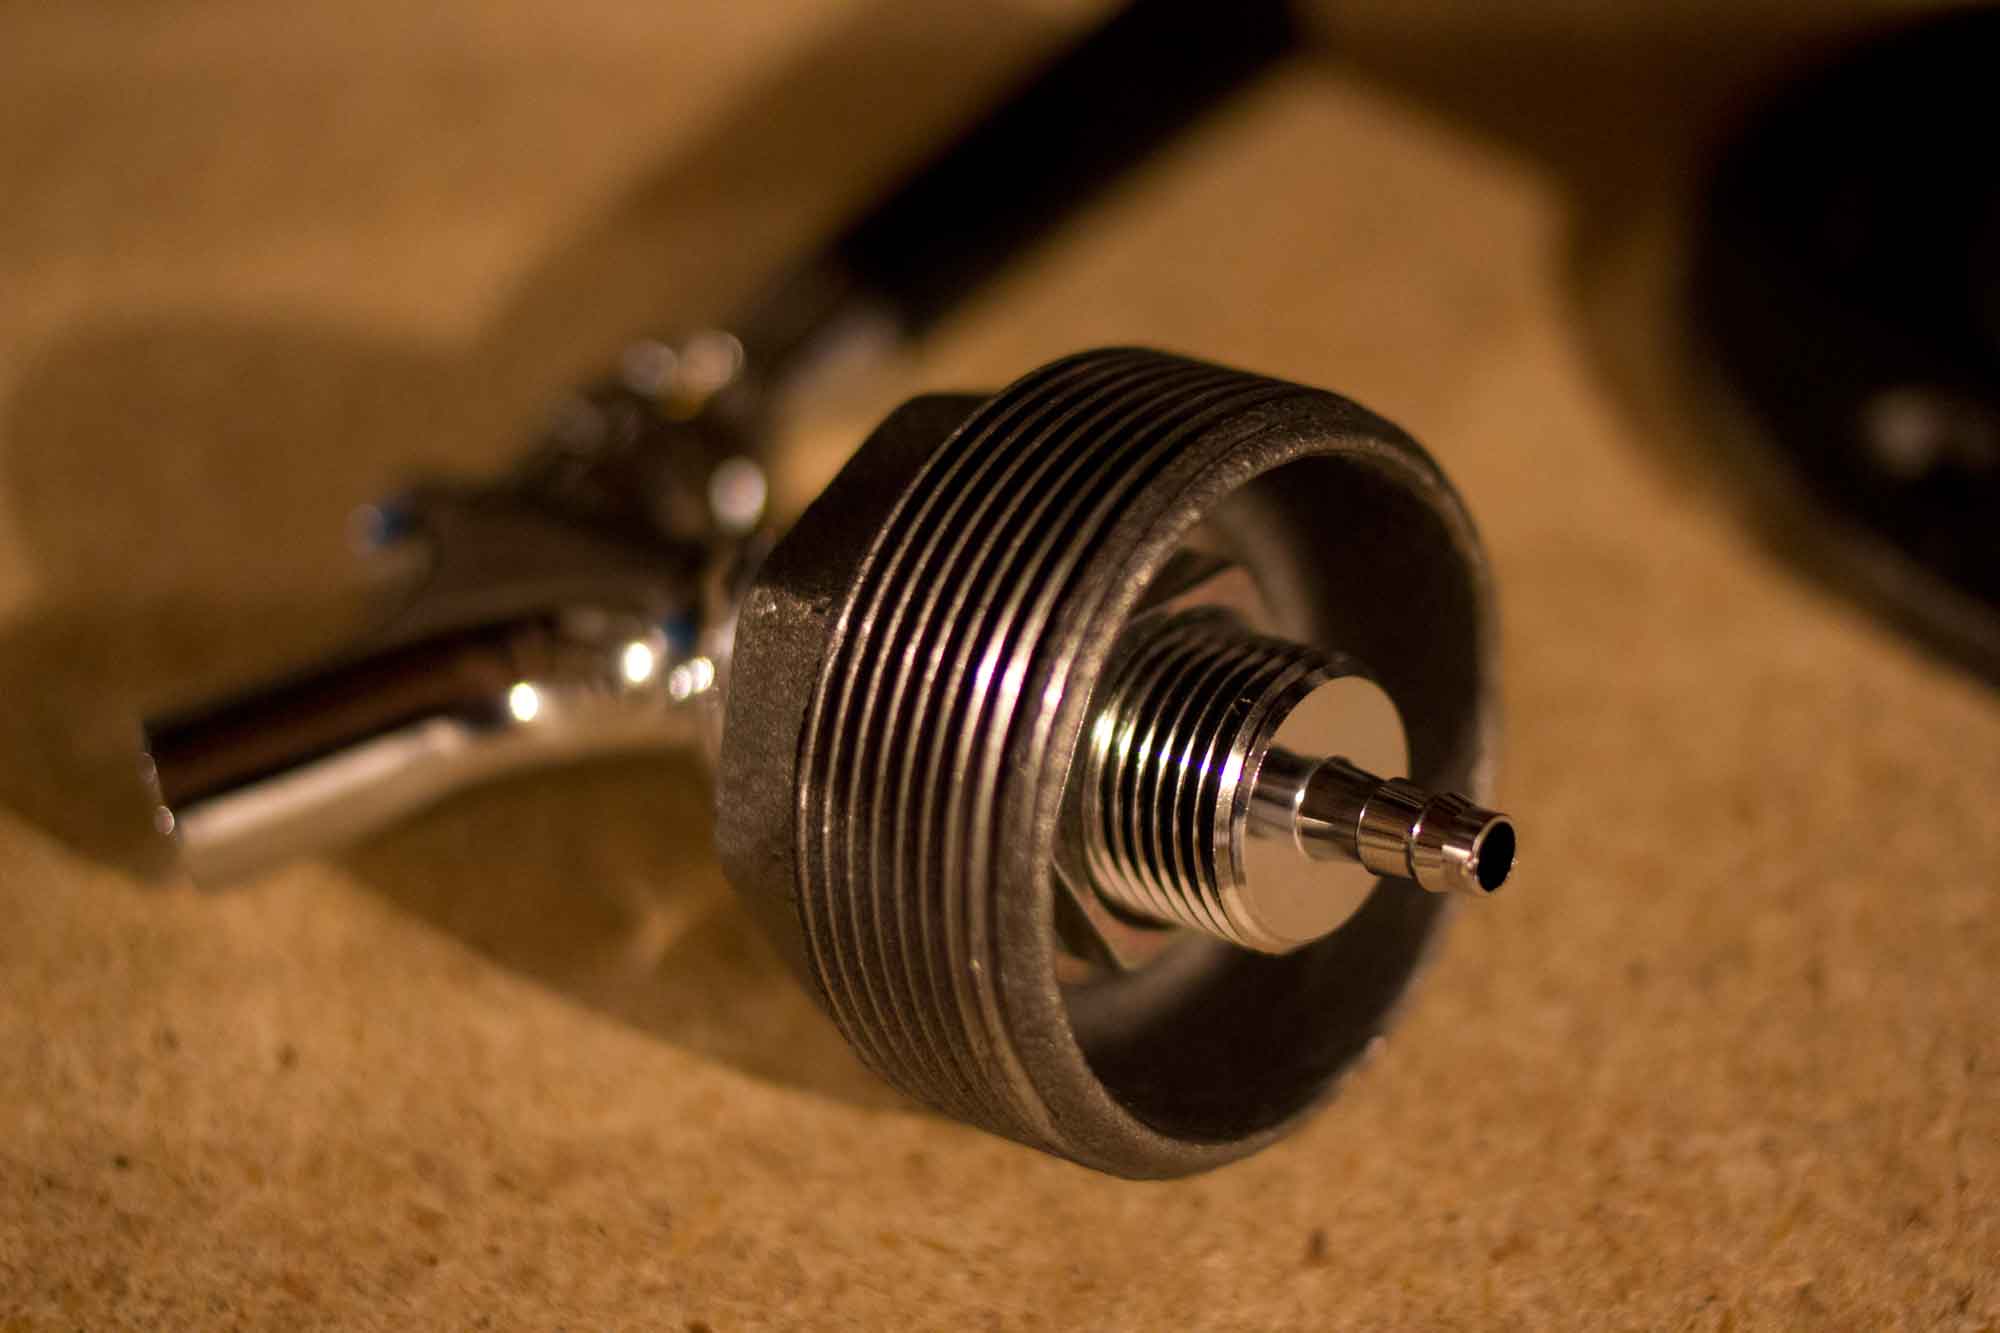
This is a closeup on the short 1 3/4″ shanks that I needed to buy. Initially I had longer shanks but those will ran into clearance issues and made assembly more difficult.
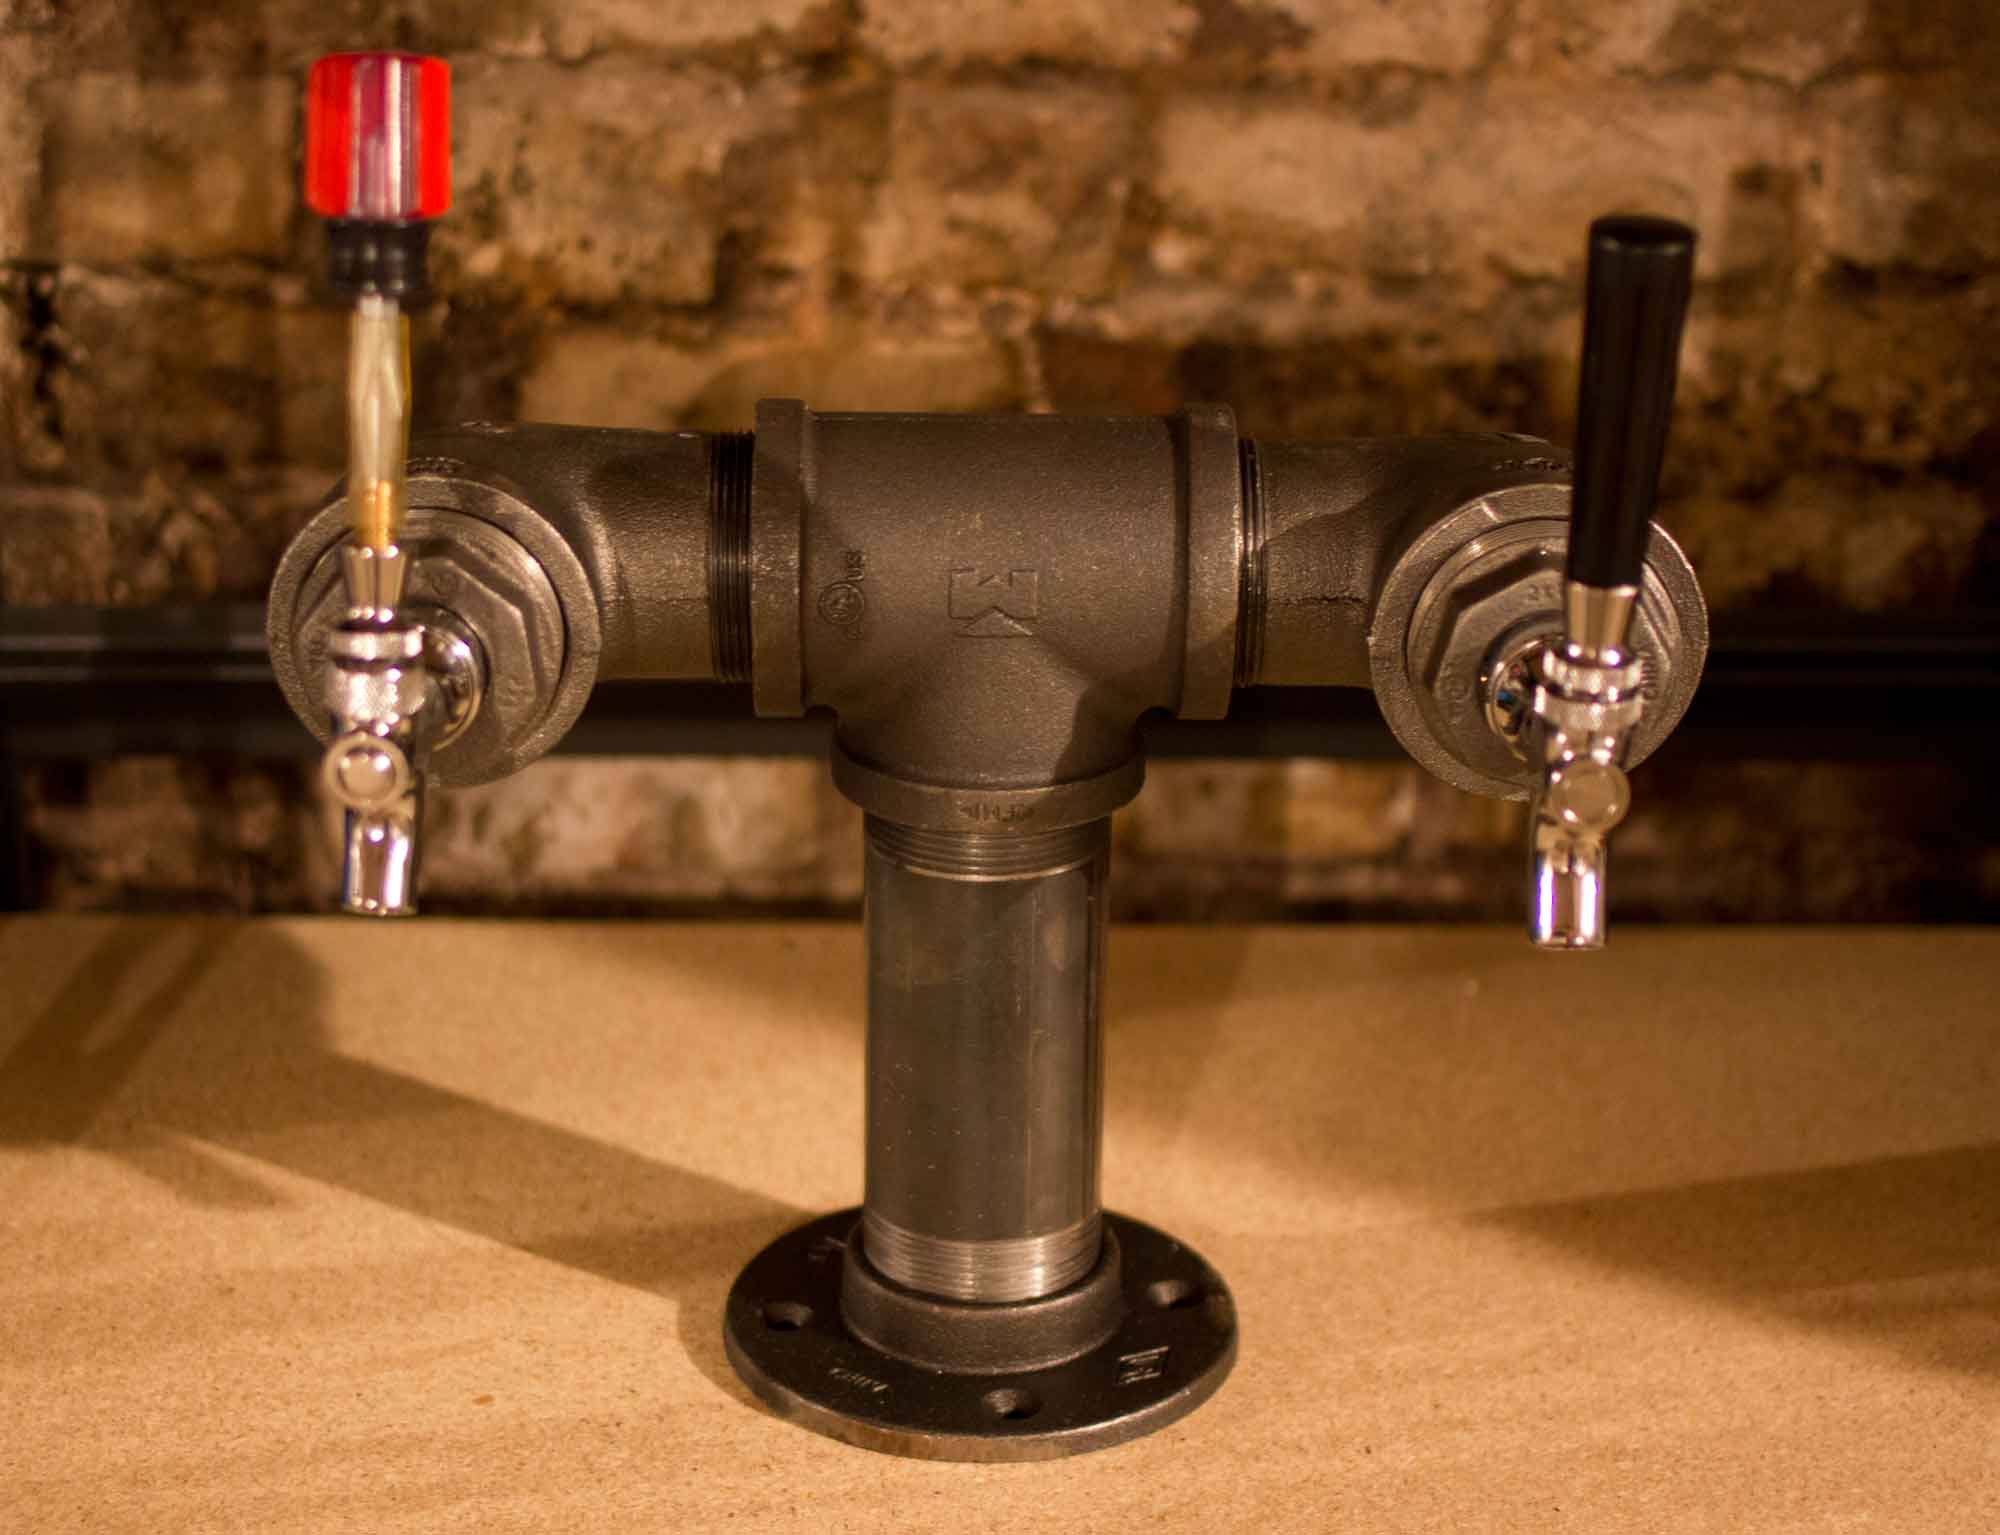
Here’s a bit of a top view showing the bends in the street elbows. This brings the taps towards you a bit and gives the glass more room.
Here is the summary of the tower parts you need.
2″ to 1″ bushings 2x
2″ tee x1
2″ street elbow 2x
2″ x 6″ black iron nipple
2″ floor flange
In addition to the tower you will need something to pour the beer with, so here are two options.
Entry Level
The entry level choice will work well and not cost a ton.
You will need two shanks and two faucets, regardless of which ones you buy.

1 3/4″ chrome shank
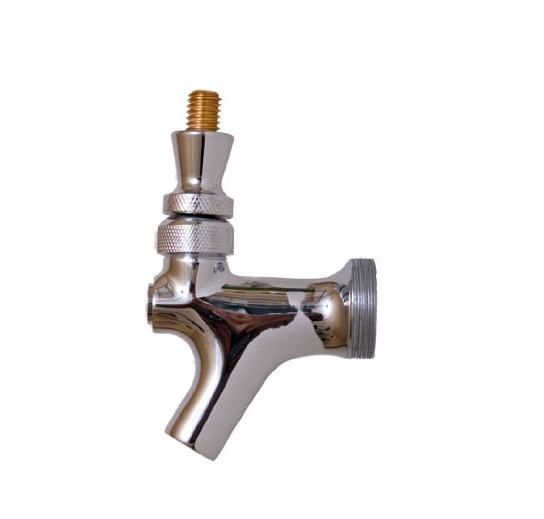
entry level chromed brass beer faucet
The difference between the two levels is that chrome is much cheaper than stainless, and the more expensive faucet uses an easier-to-clean design.
Premium Quality
Homebrewers often say “Buy once, cry once” in regards to these faucets. They cost more than the entry level ones but they are truly designed to last a lifetime and will easily sell for pretty good money if you ever decide to sell them.
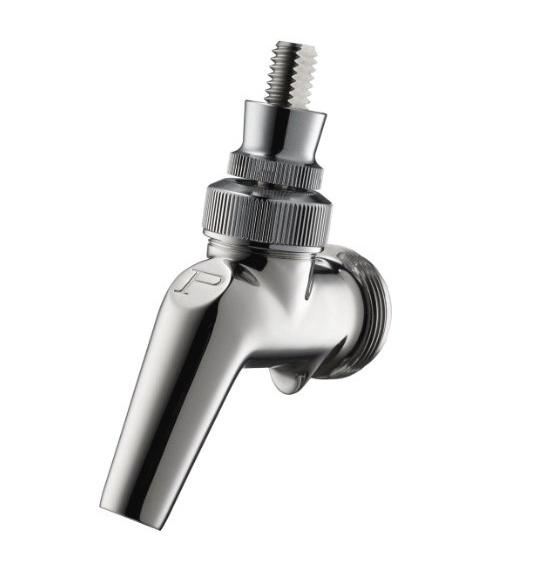
perlick 630 ss faucet
I haven’t been able to find a short stainless shank, so either find a ~2″ stainless shank or go for the cheaper one above.
Tools:
You will need three tools to put this together:
- Either a pair of channel lock pliers or a pipe wrench
- A keg faucet wrench to tighten the faucets onto the shank.
- A socket set to affix the floor seal bolts to your bar top
It’s really easy to assemble. Screw the street elbows to the tee, screw the nipple to the floor flange. You only need these joints to be tight enough so that they don’t move. They don’t need to be water-tight.
When you are ready to assemble the faucets, wrap 5-10 rounds of electrical tape around the threaded base (faucet end) of the shank. That will help to insulate it from the bushing and reduce foaming. I didn’t use the stainless flange that came with the shank, so put that aside. Then thread the shanks through the bushing and tighten everything up. Be sure to use hose clamps on the beer line. Run the lines through the street elbow and down the tee. When you are done with the other side affix the nipple and pipe flange to the tee and tighten them down. It may help to leave it a little bit loose and mount it so that you can tighten it into the proper position.
Once the tower is assembled, affix whatever fitting you want on the keg side of your beer line and hook up a keg! It sounds to me like you’ve earned yourself a beer!
Future options:
In the future you could…
- add a fan to blow air into the draft tower
- add a line to circulate chilled water or glycol into the tower
- swap out the tee for a cross and add a third tap up top.
- drill a 1″ hole in the center of the tee for a third tap.
Here’s the parts list for the tower.
2″ to 1″ bushings 2x
2″ tee x1
2″ street elbow 2x
2″ x 6″ black iron nipple
2″ floor flange
This post has a lot of amazon links, many of which are affiliate. Feel free to shop around, and have fun building.